DIY - New Build Project

Gunsmithing & DIY forum for everyone. Enjoy!
Post your projects, questions and advice here.
Post Reply
ratshot
17 Hornet
Posts: 282
Joined: Fri Dec 29, 2006 5:45 pm
Favourite Cartridge: 6 dasher
Location: Corryong vic

Re: DIY - New Build Project

Post by ratshot »

mr deehan

not that i pretend to know anything, but don't you have a LG as well as the HG to complete for 2015 ??????????? :wink: :wink:

cheers

dave[/quote]
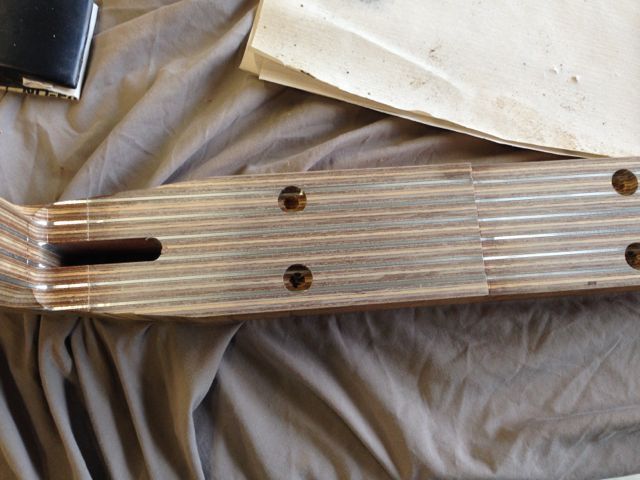
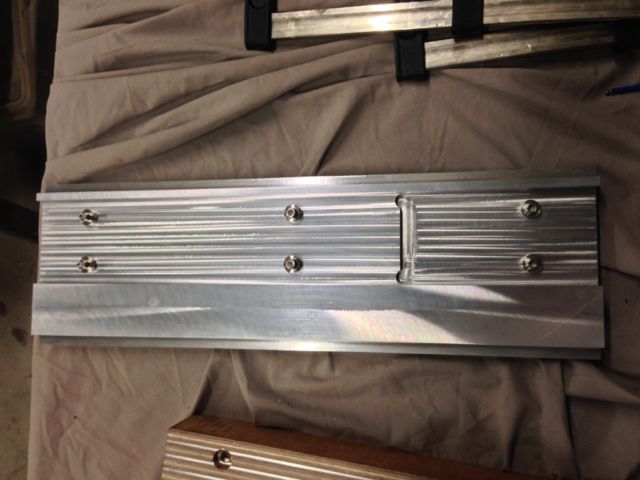
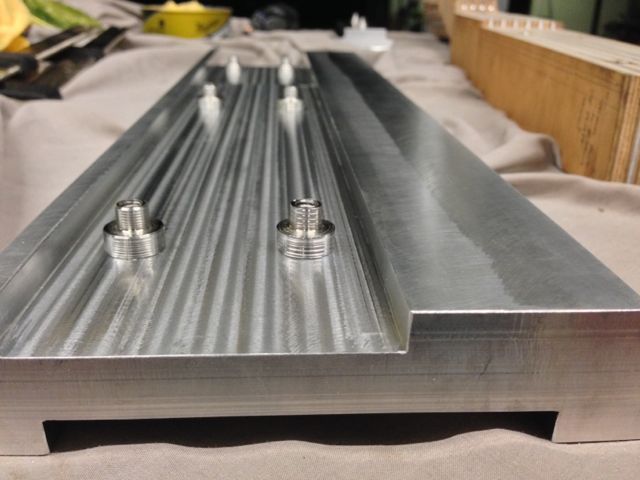
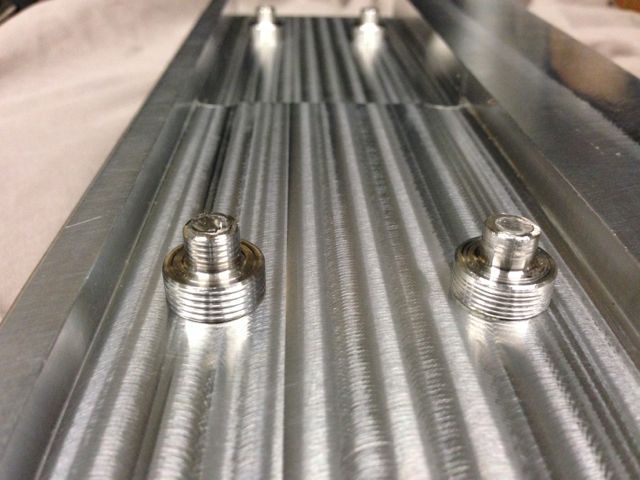
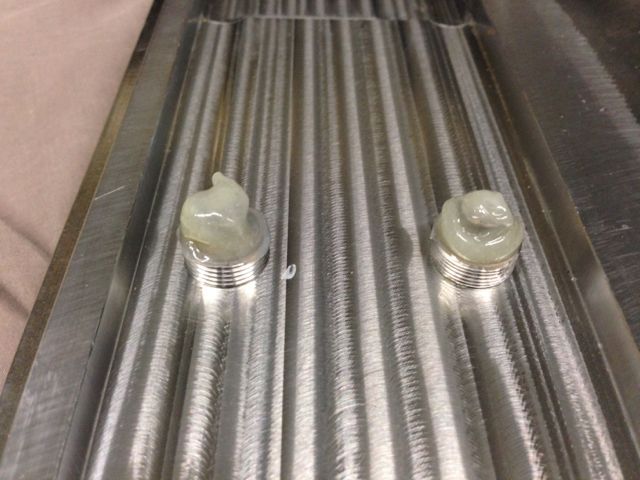
Yes Dave I already have a large cavity pecked in the back of my head , have unglued barrel from sleave and rifle is in bits.
HG has 8 shots up the pipe cant do much more running in due to total fire bans, I still have to make bag runners and get the balance right. Paul..
dg
25/06 Remington
Posts: 834
Joined: Thu Oct 12, 2006 10:48 am
Favourite Cartridge: 6x47 lapua
Location: narromine

Re: DIY - New Build Project

Post by dg »

paul

all good news

nice to know that albow and your goodself both have your priorities sorted and are on track with the construction and development of your respective equipment for the 2015 1000yd BR season !!! :lol: :lol:

allegedly,according to the bush telegraph,other talented souls are also conducting a fair bit of related 1000yd BR R&D in cairns, townsville,mckay,melton, canberra, albury, sydney,the southern highlands and the hunter valley etc.

given the above information, we might have to increase the free parking area and hire additional spectator seating for the 2015 SCC.

bring on the Australian 2015 1000yd BR IBS season !!!!!!!!!!!!!!!!!!!!!!!!!!!!!

cheers
dave
justjeff
22-250 Remington
Posts: 576
Joined: Tue Jul 08, 2008 7:49 pm
Favourite Cartridge: 270 Win

Re: DIY - New Build Project

Post by justjeff »

Dave,

Hopefully this coming year your club will be able to spring for a couple of 44 gallon drums and some fire wood. 2014 was a challenge to see who could shoot best will shivering against the cold!! I have finished painting the kitchen bench top, rebuilt the front rest, and added another barrel to the mix with the HG. In the LG stakes, I might have got a load at last for the 6 TicTac, will know once we get back to it next month. If it works well, I will bring it down as well.

TZ is talking of coming down as a spectator, he reckons it will be worth the entry for the giggles, watching us freeze our A's off.

Next 2 projects for completion are the rear rest, and another action, LRB.

Jeff
User avatar
albow
.257 Roberts
Posts: 787
Joined: Fri Oct 20, 2006 7:40 am
Location: Nth Queensland

Re: DIY - New Build Project

Post by albow »

Ok so it has been a bit of a slow turn around on getting up a few photos of the progress however the next couple of posts will show the steps taken over the past few days.

Firstly is over the past few days I have had a bit of time to spend here and there on building the new rear rest. I ended up making up a base plate and mounting the joystick top I use for F Class on it to give me windage adjustment. Took a bit of mucking around to come up with a method to attach the top to the plate so if I want to go shoot F Class it is easy to remove and reattach to my normal rest without having to fully disassemble the top to change post that it is attached to.

What I ended up doing was putting a short spigot shaft under the top that has a tapered groove that runs around the shaft which the grub screw (that can be seen in the photo from behind the rest) screws into and pulls the top down on the base plate. What I also did was to cut a 1mm groove across the plate to sit the top in to prevent any spinning of the top on the shaft when making adjustment for windage. This set up will enable me to modify the existing threaded post for the normal rest to accept the spigot shaft so the top can be easily put back.

The pictures show the final product and there are a couple of small jobs just to make up the screws which I managed to get the stainless rod for today so they will be completed in a day or so. The joystick handle finishes just in front of the pistol grip part of the stock so easy to get to and very close to the elevation controls too so should be very easy to make any adjustments very quickly.

Image Image
User avatar
albow
.257 Roberts
Posts: 787
Joined: Fri Oct 20, 2006 7:40 am
Location: Nth Queensland

Re: DIY - New Build Project

Post by albow »

Tonights job was to glue the inserts for the front and rear pods into the stock. To ensure that these align properly with the plates I glue them in by mounting them to the plates, followed by gluing them in place.

First step was to give the stock a very light sand with some 320 grit paper to remove any 'grime' from the timber and alloy on the bottom of the stock where the plates mount against so the glue that comes out from the process will have a clean surface to adhere to. This is only a very light sand to clean the surfaces as you don't want to sand any angles into the surfaces as they are all fully aligned from the stock shaping process.

Image Image
User avatar
JasonF
7mm Rem Mag
Posts: 1108
Joined: Tue Feb 03, 2009 2:36 pm
Favourite Cartridge: 7mm-08
Location: Canberra region, NSW

Re: DIY - New Build Project

Post by JasonF »

Is that one of Butch Lambert's Shadetree joystick rests?
User avatar
albow
.257 Roberts
Posts: 787
Joined: Fri Oct 20, 2006 7:40 am
Location: Nth Queensland

Re: DIY - New Build Project

Post by albow »

After preparing the stock it was necessary to wax the plates so they will release from the glue the will run out from the process. Not that it would be hard to warm the plate and get them to let go, it is just easier.

I use my fibreglass release wax for this process and also give the bolts a coat on the threads to ensure that if any glue gets on them they will undo after the glue up.

Image Image
User avatar
albow
.257 Roberts
Posts: 787
Joined: Fri Oct 20, 2006 7:40 am
Location: Nth Queensland

Re: DIY - New Build Project

Post by albow »

Once the wax has been polished off the plates then all the inserts are washed in acetone to remove any and all oils from machining and handling. This is important to ensure that the glue will stick to them. After these have been washed I do not touch them with bare hands again to prevent any skin oils getting on them and use a cleaned set of pliers to hold them as they are screwed into place on the plates.

Image Image Image Image
User avatar
albow
.257 Roberts
Posts: 787
Joined: Fri Oct 20, 2006 7:40 am
Location: Nth Queensland

Re: DIY - New Build Project

Post by albow »

Once the inserts are bolted in place then the glue is mixed ready to go. Again the super duper Techniglue is used to hold them in place :D :D

To ensure that there is plenty of glue around the inserts I first put glue into the holes in the stock and then on the inserts. Quantity is enough to ensure that when placed there will be more glue than required and excess squeezed out around the insert on the stock which also provides a semi 'bedding' of the plates on the stock. It will be interesting to see how much glue ended up around the inserts as indication of the proper alignment of the machining done for the stock and plates. Hopefully there is not too much or we will know that it was a dodgy job :lol: :lol: Once all glue is in place the plates are placed on the stock and clamped in place till the glue dries.

Image Image Image Image
User avatar
albow
.257 Roberts
Posts: 787
Joined: Fri Oct 20, 2006 7:40 am
Location: Nth Queensland

Re: DIY - New Build Project

Post by albow »

Hi Jason, just saw your question and yes it is one of Butch Lambert's rests.
User avatar
JasonF
7mm Rem Mag
Posts: 1108
Joined: Tue Feb 03, 2009 2:36 pm
Favourite Cartridge: 7mm-08
Location: Canberra region, NSW

Re: DIY - New Build Project

Post by JasonF »

Thanks Al. Don't want to take this excellent thread off topic - have started a new thread about the Shadetree rests.

Cheers, Jason.
Last edited by JasonF on Tue Jan 06, 2015 8:41 pm, edited 2 times in total.
User avatar
Camel
Ultimate AusVarminter
Posts: 12084
Joined: Sat May 28, 2011 8:51 pm
Favourite Cartridge: 20-222 6x47 rem, 250
Location: Northern Riverina NSW

Re: DIY - New Build Project

Post by Camel »

This is a bloody good thread, one thing that you have to be chastised about though...............you inlet your trigger and didn't tell us. :twisted:
User avatar
albow
.257 Roberts
Posts: 787
Joined: Fri Oct 20, 2006 7:40 am
Location: Nth Queensland

Re: DIY - New Build Project

Post by albow »

Oi Camel - are you paying attention at all :mrgreen: :mrgreen: how you going to get that bunny gun going better if you keep missing things :lol: :lol:

Check out the photo on page 4 you will see the trigger was done the same time as the inlet on the stock as it can be seen in the picture showing the inserts in the bottom of the stock...... :twisted: :twisted:
User avatar
albow
.257 Roberts
Posts: 787
Joined: Fri Oct 20, 2006 7:40 am
Location: Nth Queensland

Re: DIY - New Build Project

Post by albow »

Ok pulled the pods off the stock this morning and had a look at the glue-up of the inserts. All looks great and there were no big lumps or glue so the machining must have been OK :mrgreen: :mrgreen:

The excess glue has pushed out of the holes and spread onto the stock. If you run your finger nail over the edge of the glue line and raw timber there is no ledge or lip there so everything was nice and flush between stock and pods.

Image Image Image
User avatar
albow
.257 Roberts
Posts: 787
Joined: Fri Oct 20, 2006 7:40 am
Location: Nth Queensland

Re: DIY - New Build Project

Post by albow »

This afternoon I also did a bit of shaping of the stock sides on the fore-end. The holes for the screws to hold the action were also drilled through the stock and front pod now that it was all glued into final position.

Camel take note of this info........... so you don't miss it and ask again later :stir:


It is getting pretty close to sealing / painting the stock then gluing the action in. If all goes to plan this weekend will see it all together and at the range next weekend....... :D :D

Image Image
Post Reply